lentil.jitter#
- lentil.jitter(img, scale, pixelscale=1, oversample=1)[source]#
Apply image jitter via convolution.
- Parameters:
img (array_like) – Input image
scale (float) –
1-sigma jitter motion
If
pixelscale = 1,scaleshould give jitter in terms of fractional pixels. Ifpixelscaleis the physical dimension of one pixel,scaleshould give jitter in terms of the same units.pixelscale (float, optional) – Pixel size. If
pixelscale = 1(default), thescaleparameter provided when Jitter is called should give jitter in terms of fractional pixels. Ifpixelscaleis the physical dimension of one pixel,the ``scaleparameter provided when Jitter is called should give jitter in terms of the same units.oversample (int, optional) – Oversampling factor of img. Default is 1.
- Returns:
out – Image with jitter applied.
- Return type:
ndarray
Examples
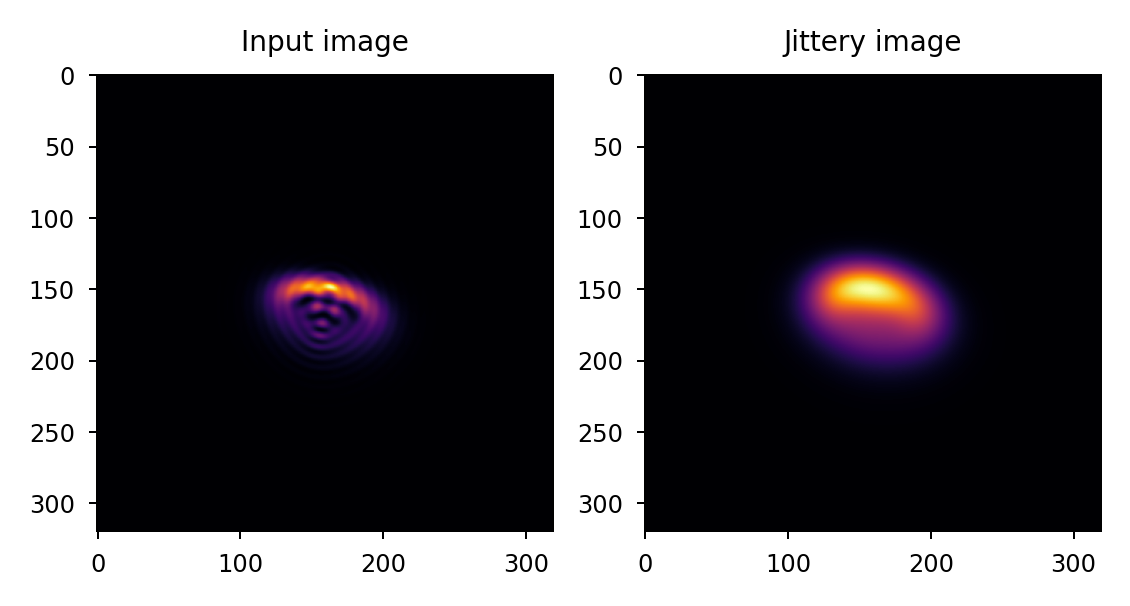
Apply 2 pixels jitter to a 5x oversmapled PSF:
>>> import lentil
>>> import matplotlib.pyplot as plt
>>> psf = ...  # PSF calculation details omitted
>>> psf_jitter = lentil.jitter(psf, scale=2, oversample=5)
>>> plt.subplot(121), plt.imshow(psf)
>>> plt.subplot(122), plt.imshow(psf_jitter)
- ..plot:: _img/python/jitter.py
- scale:
50
Apply 10 um jitter to a 5x oversampled PSF. Note that because we are specifying jitter in terms of linear distance on the focal plane, we must provide the detector pixelscale when applying the Jitter. We also provide the oversampling factor, ensuring the convolution kernel is appropriately sized:
>>> import lentil
>>> import matplotlib.pyplot as plt
>>> psf = ...  # PSF calculation details omitted
>>> psf_jitter = lentil.jitter(psf,
...                            scale=10e-6,
...                            pixelscale=5e-6,
...                            oversample=5)
>>> plt.subplot(121), plt.imshow(psf)
>>> plt.subplot(122), plt.imshow(psf_jitter)

References